
Zoom is not only useful for videoconferencing; it can also be used to record presentations offline. The software allows your audience to see both your presentation slides and your camera while you present. This is extremely useful for students who need to record a presentation or instructors who want to record an asynchronous class. Here are the simple steps.
(Note: Screenshots are of Zoom 5.02 on Mac. Other software versions may vary.)
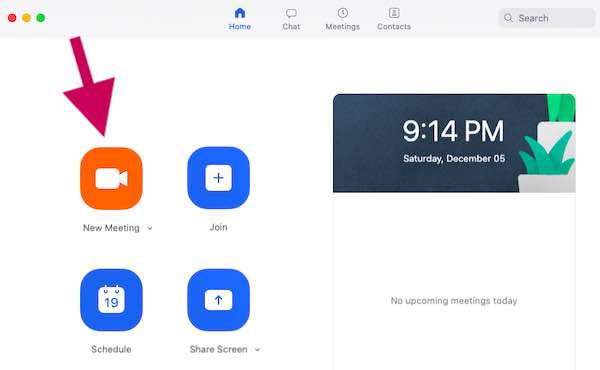
1. Create a meeting in Zoom for yourself.
From the Home tab, click on New Meeting.
2. Join the meeting with audio.
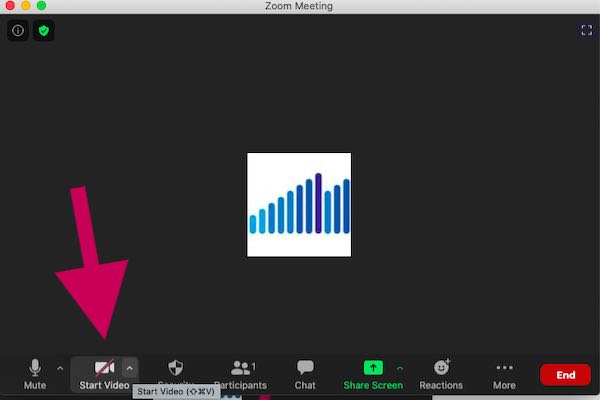
3. Turn your video on.
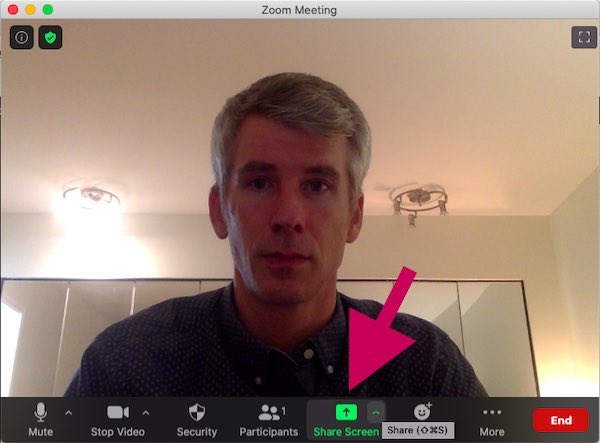
4. Share your screen.
(Note that you will probably want to use a brighter room than below.)
4. Choose your presentation in the next window.
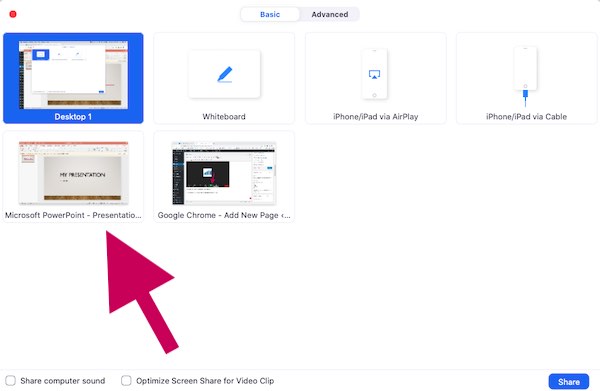
Note: Your presentation must first be open before you can share it.
Your presentation window will now have a green box around it. This indicates that the window is being shared.
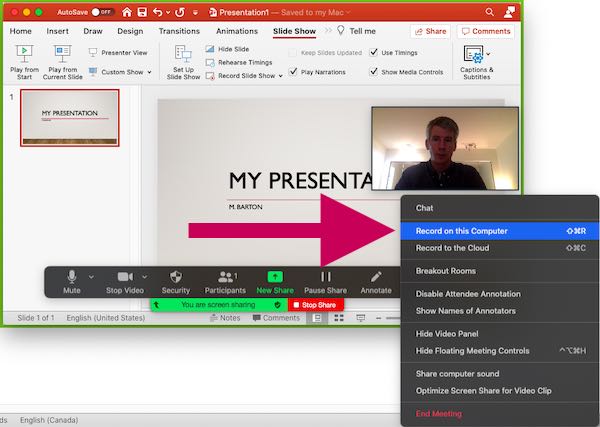
5. On the Zoom toolbar, click on 'More' and then 'Record on this Computer'
The toolbar is the same bar that you clicked "Share Screen" on. It also has a '... More' option on the right. Once you click on it, click on 'Record on this Computer'.
6. Start your slideshow and give your presentation.
To enter Slideshow mode in Powerpoint, go to the 'Slideshow Menu' and click 'Start Slideshow'.
The beauty of using Zoom to record your presentation is that your audience can see your face and your slides at the same time. If you are a student recording a presentation, this is ideal because your instructor will probably want to see your face while you are speaking.
7. When finished, click 'More' on the toolbar again and then 'Stop Recording'
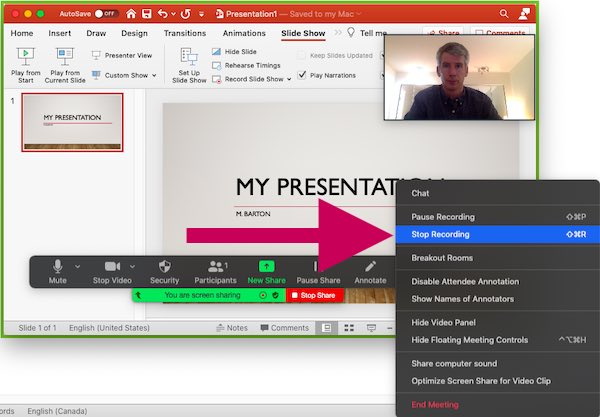
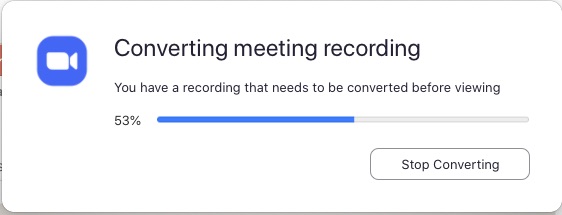
Once you stop the recording, nothing will happen immediately. However, when you end the meeting, the video file will start converting. This may take several minutes depending on how long your presentation was.
The video will save to the Zoom folder, which automatically opens once the file has finished saving.
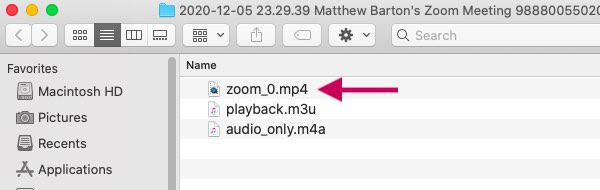
Then, you can rename the file (e.g. change it from zoom_0.mp4 to YourName_presentation.mp4) and then share the file with your instructor (e.g. via Google Drive) or e-mail it, depending on the file size.
--
I hope you find this useful. In my experience, this is much easier than using Powerpoint or Quicktime Player to record a video. Leave a comment below if you have a question.
-- Created by Matthew Barton of Englishcurrent.com
Dear Professor,
Detailed explanations like this are beneficial.
Thank you.
Djordje Jovanovic